BotSat - Flight Hardware - Part 1
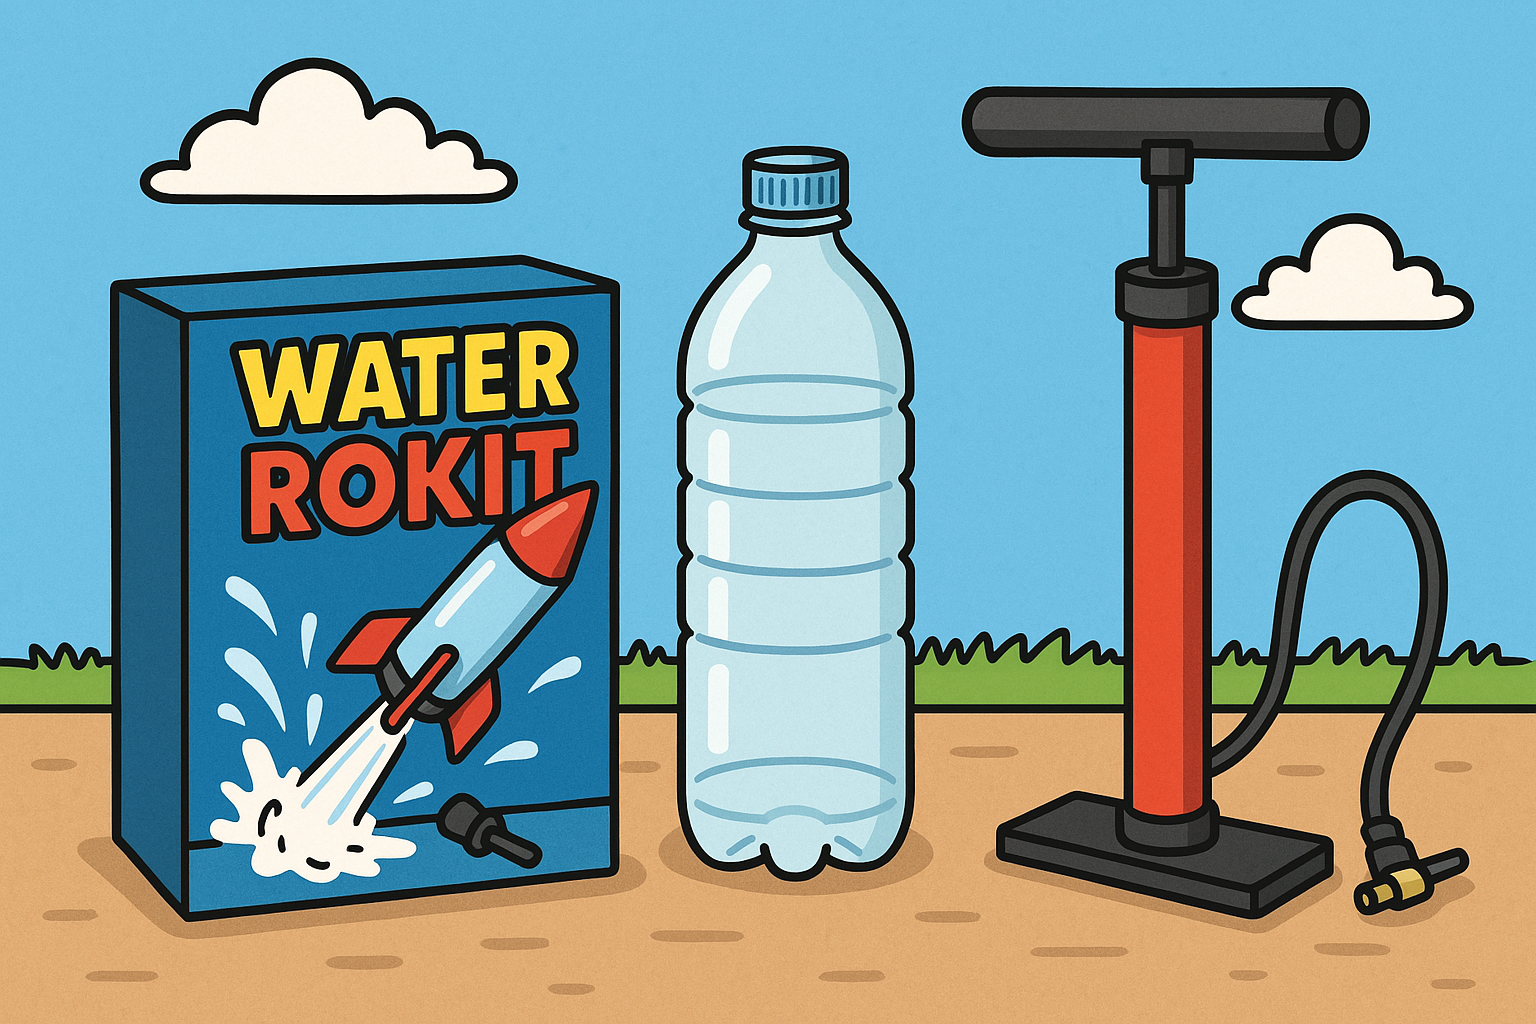
This is the first part of the BotSat flight hardware series. In this part, we will be discussing the hardware design of the BotSat flight hardware. We will start by looking at what we have inherited from the CanSat project, and what we want to achieve for this fun project. It’s also worth nothing that all you really need to do to have a lot of fun with this is project is to have Water Rokit kit, an empty drinks bottle, and a bicycle pump.

What have we inherited?
But we had lots more to play with. Julian and his friends had an ambitious plan, and their payload consisted of an Arduino Nano, with a GPS module, a barometric pressure sensor, an air quality sensor, and six-axis gyroscope/accelerometer and a servo for parachute deployment. It was also designed to be able to control two cameras but in the end they had to be pulled as there just wasn’t enough power to run the whole stack. Finally, the payload had an APC220 radio module to send the telemetry data back to the ground station.
There were a few spares that we had bought to allow for paralell development, so we decided to use them for this project. We would simplify things slightly by sticking everything on a single perfoboard and use a slightly more powerful ESP32 microcontroller to give us more room to play with.
The Rokit
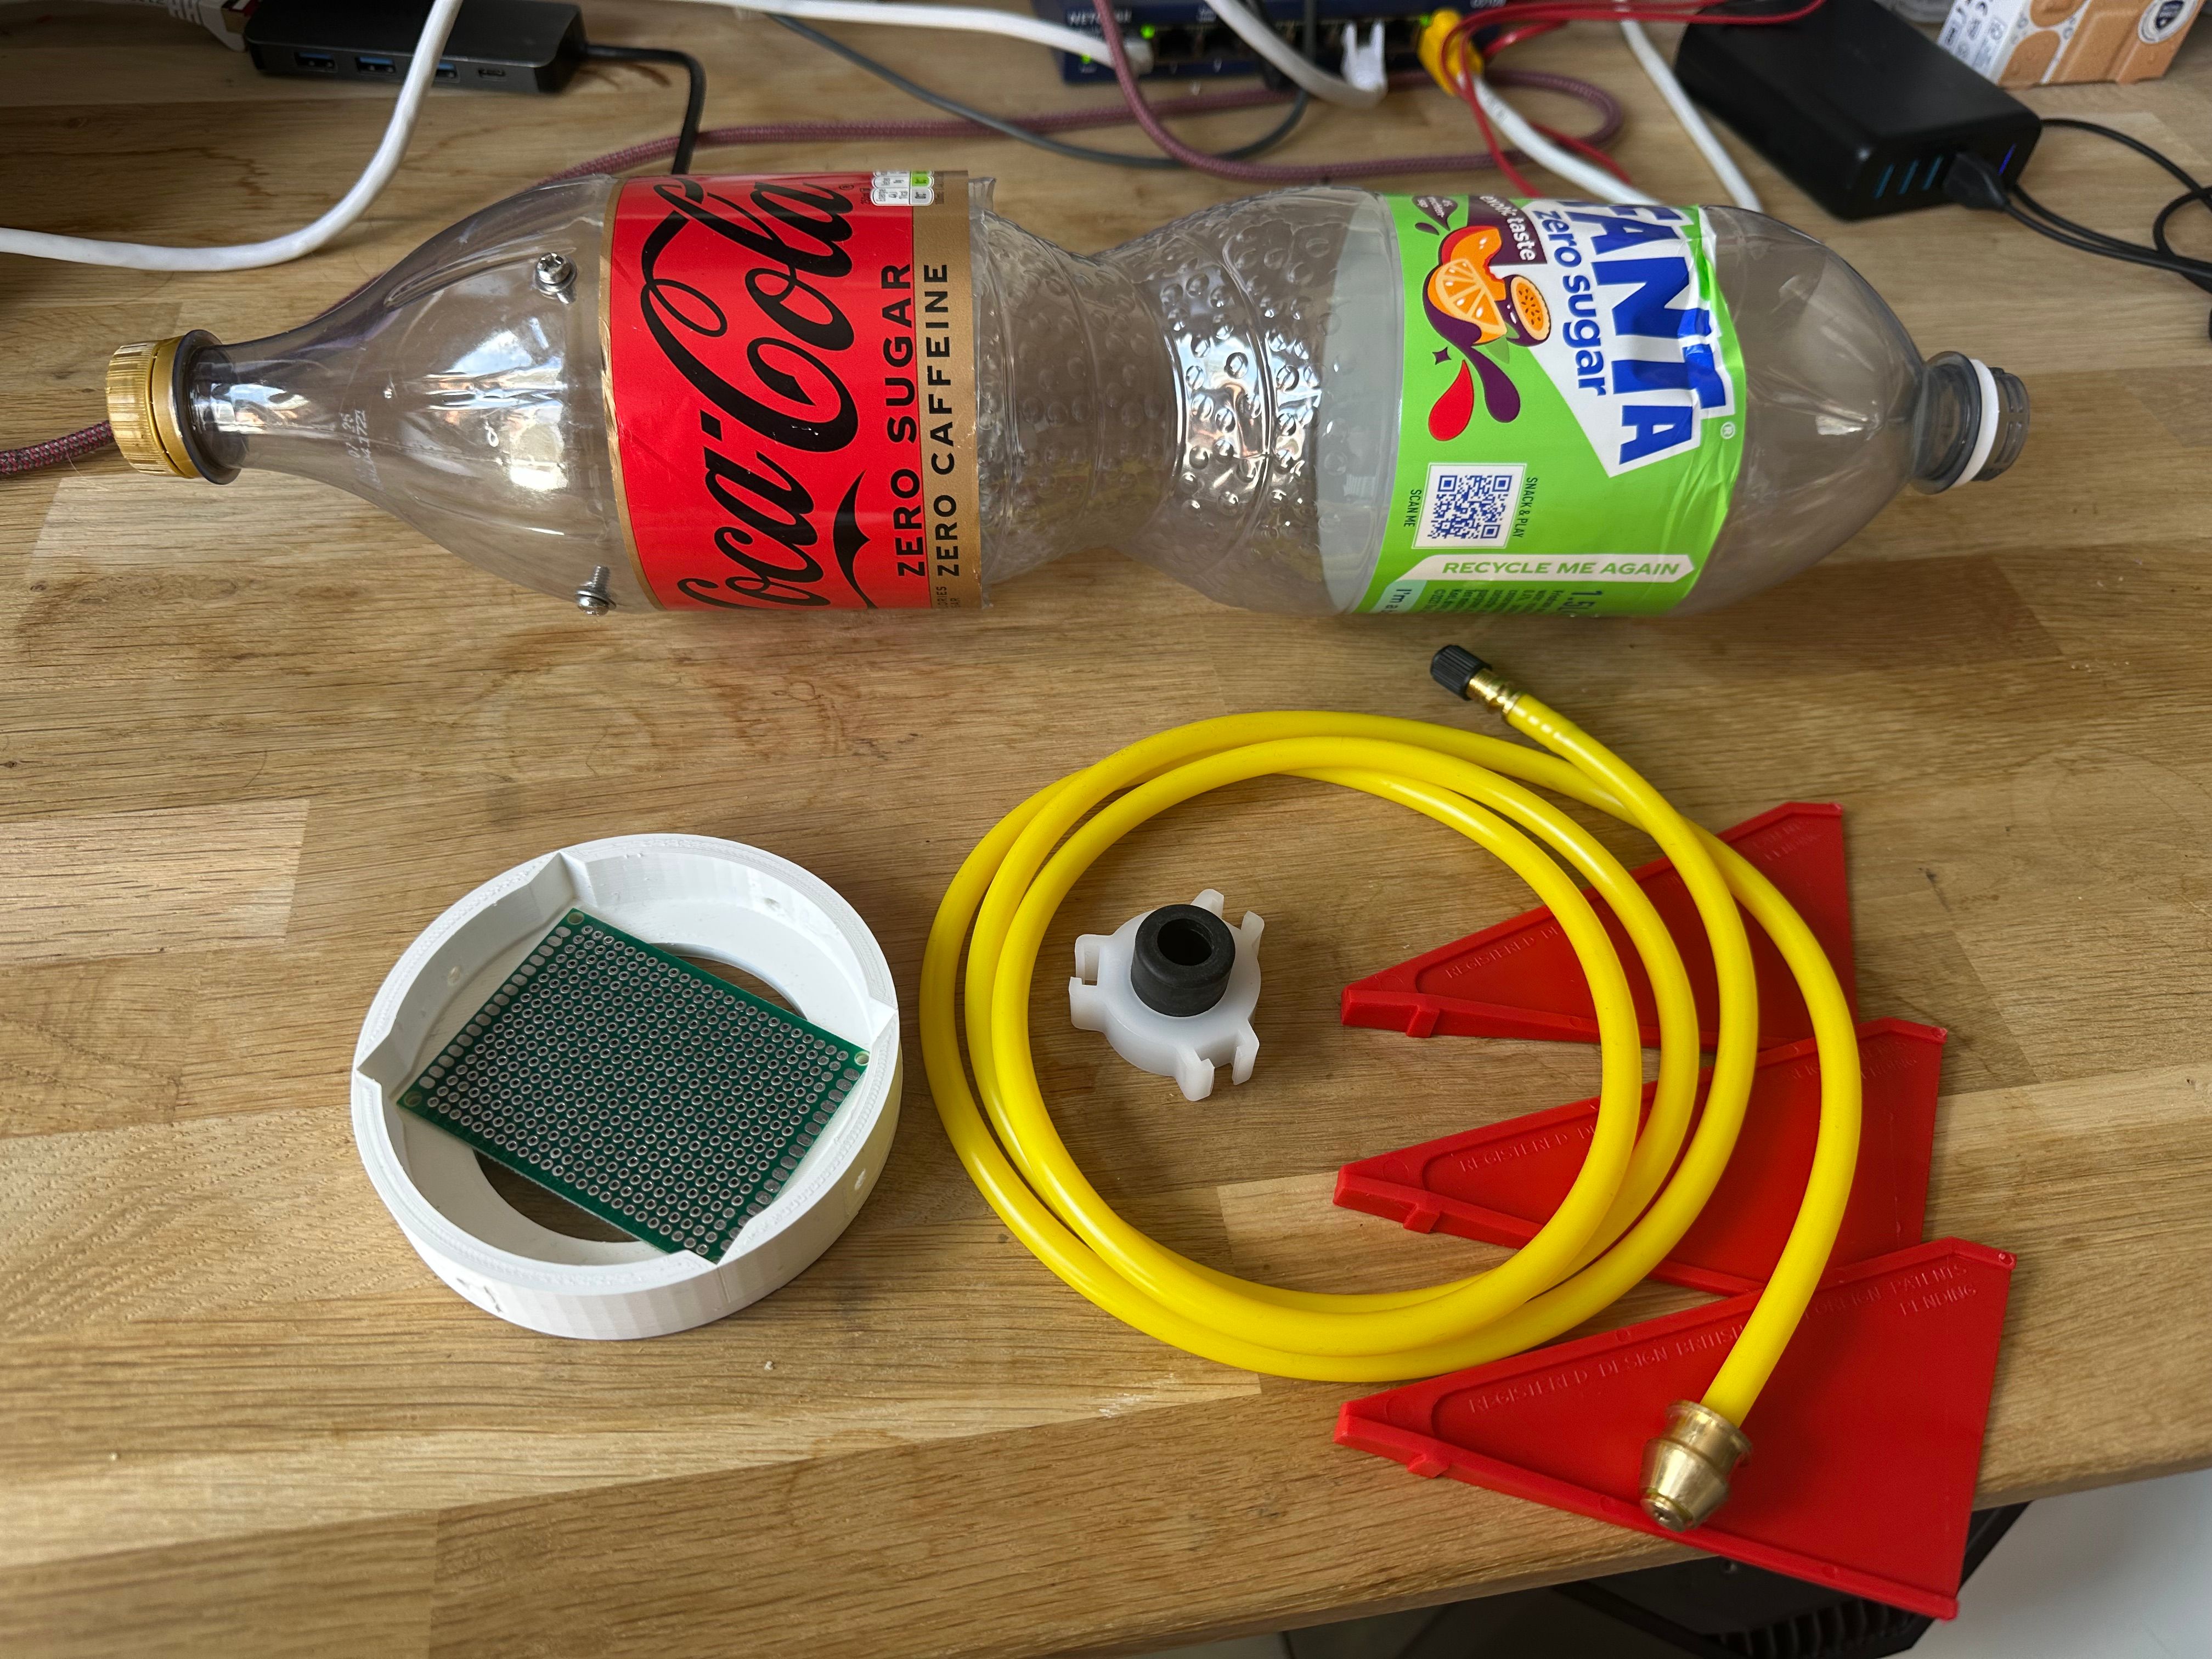
The Water Rokit kit is surprisingly simple and super effective. It consts of a PCO 1881 screw fitting with an o ring and rubber stopper with a hole in the middle. A plastic tube fits into this stopper and has a bicycle valve on the other end. This allows the bottle to be pressurised with a normal bicycle pump. Finally, three fins slot onto the screw fitting. These fins are slightly curved to cause the bottle to spin along the flight axis and stabilise the flight. As we start looking at the data, we see that these are very effective.
Although the bung is called a “nozzle” we actually found that the pressure ejected the entire bung and o-ring during launch. We didn’t know where this had ended up and it was only upon careful analysis of the video footage that we could see it fly out during launch, and we managed to retrieve it the next day.
Designing The Rocket
The first problem to solve was to decide where they payload would go. Since we didn’t have a proper rocket to launch on, we somehow had to fix our payload to a bottle.
It couldn’t go on the inside. First of all, the inside would have water in it, and water plus electronics don’t mix. Second of all, the purpose of the bottle is to act as a pressurised container for the rocket, and this would certainly mess up our barometric pressure sensor.
So the only option was then to somehow mount the payload on the outside of the bottle. We achieved this by simply taking a second bottle and cutting it in half. We would simply put the payload inside the half-bottle, and then stick this onto the the “bottom” of the pressure bottle (which of course is the top of the rocket). A proper Franken-rocket was born!
To actually attach the electronics, we 3D printed a mount that would hold the perfboard in place that we could also screw onto the bottle.
Julian prefers to use Blender to design his 3D models, but for parametric design, my goto is CadQuery which is a Python library for creating parametric 3D CAD models. A parametric design allows us to easily change the size of the rocket by changing a single parameter, so if your bottle is different than ours, then it’s easy to tweak the design to fit.
You can have a look at the code on github, and thanks to a service called MyBinder you can even launch a copy of this in the cloud for free and create your own STL file for printing. Just follow this link:
https://mybinder.org/v2/gh/ValtteriBotsat/botsat-mount/HEAD?urlpath=lab/tree/botsat.ipynb
and it will launch a jupyter notebook, a web-based programming editor, where you can run the code we used, and change the individual parameters to fit your bottle and payload.
Putting it all together
We now have all the bits we need for the rocket itself.

Next we will look at the electronics and how to build the data logging payload to give us fun insights on the flight profile.